There’s no sugarcoating it, sanding floorboards is awful! It was definitely one of the grubbiest and stressful jobs we’ve done (including the time we knocked a huge hole in the back of our house!). Back in December 2020 we sanded the whole downstairs of our house: living room, hallway, dining room, and kitchen – in one weekend!
Before we started, we did loads of research on to how to make the process less painful. So here are our tips and tricks for sanding floorboards.

Do the prep

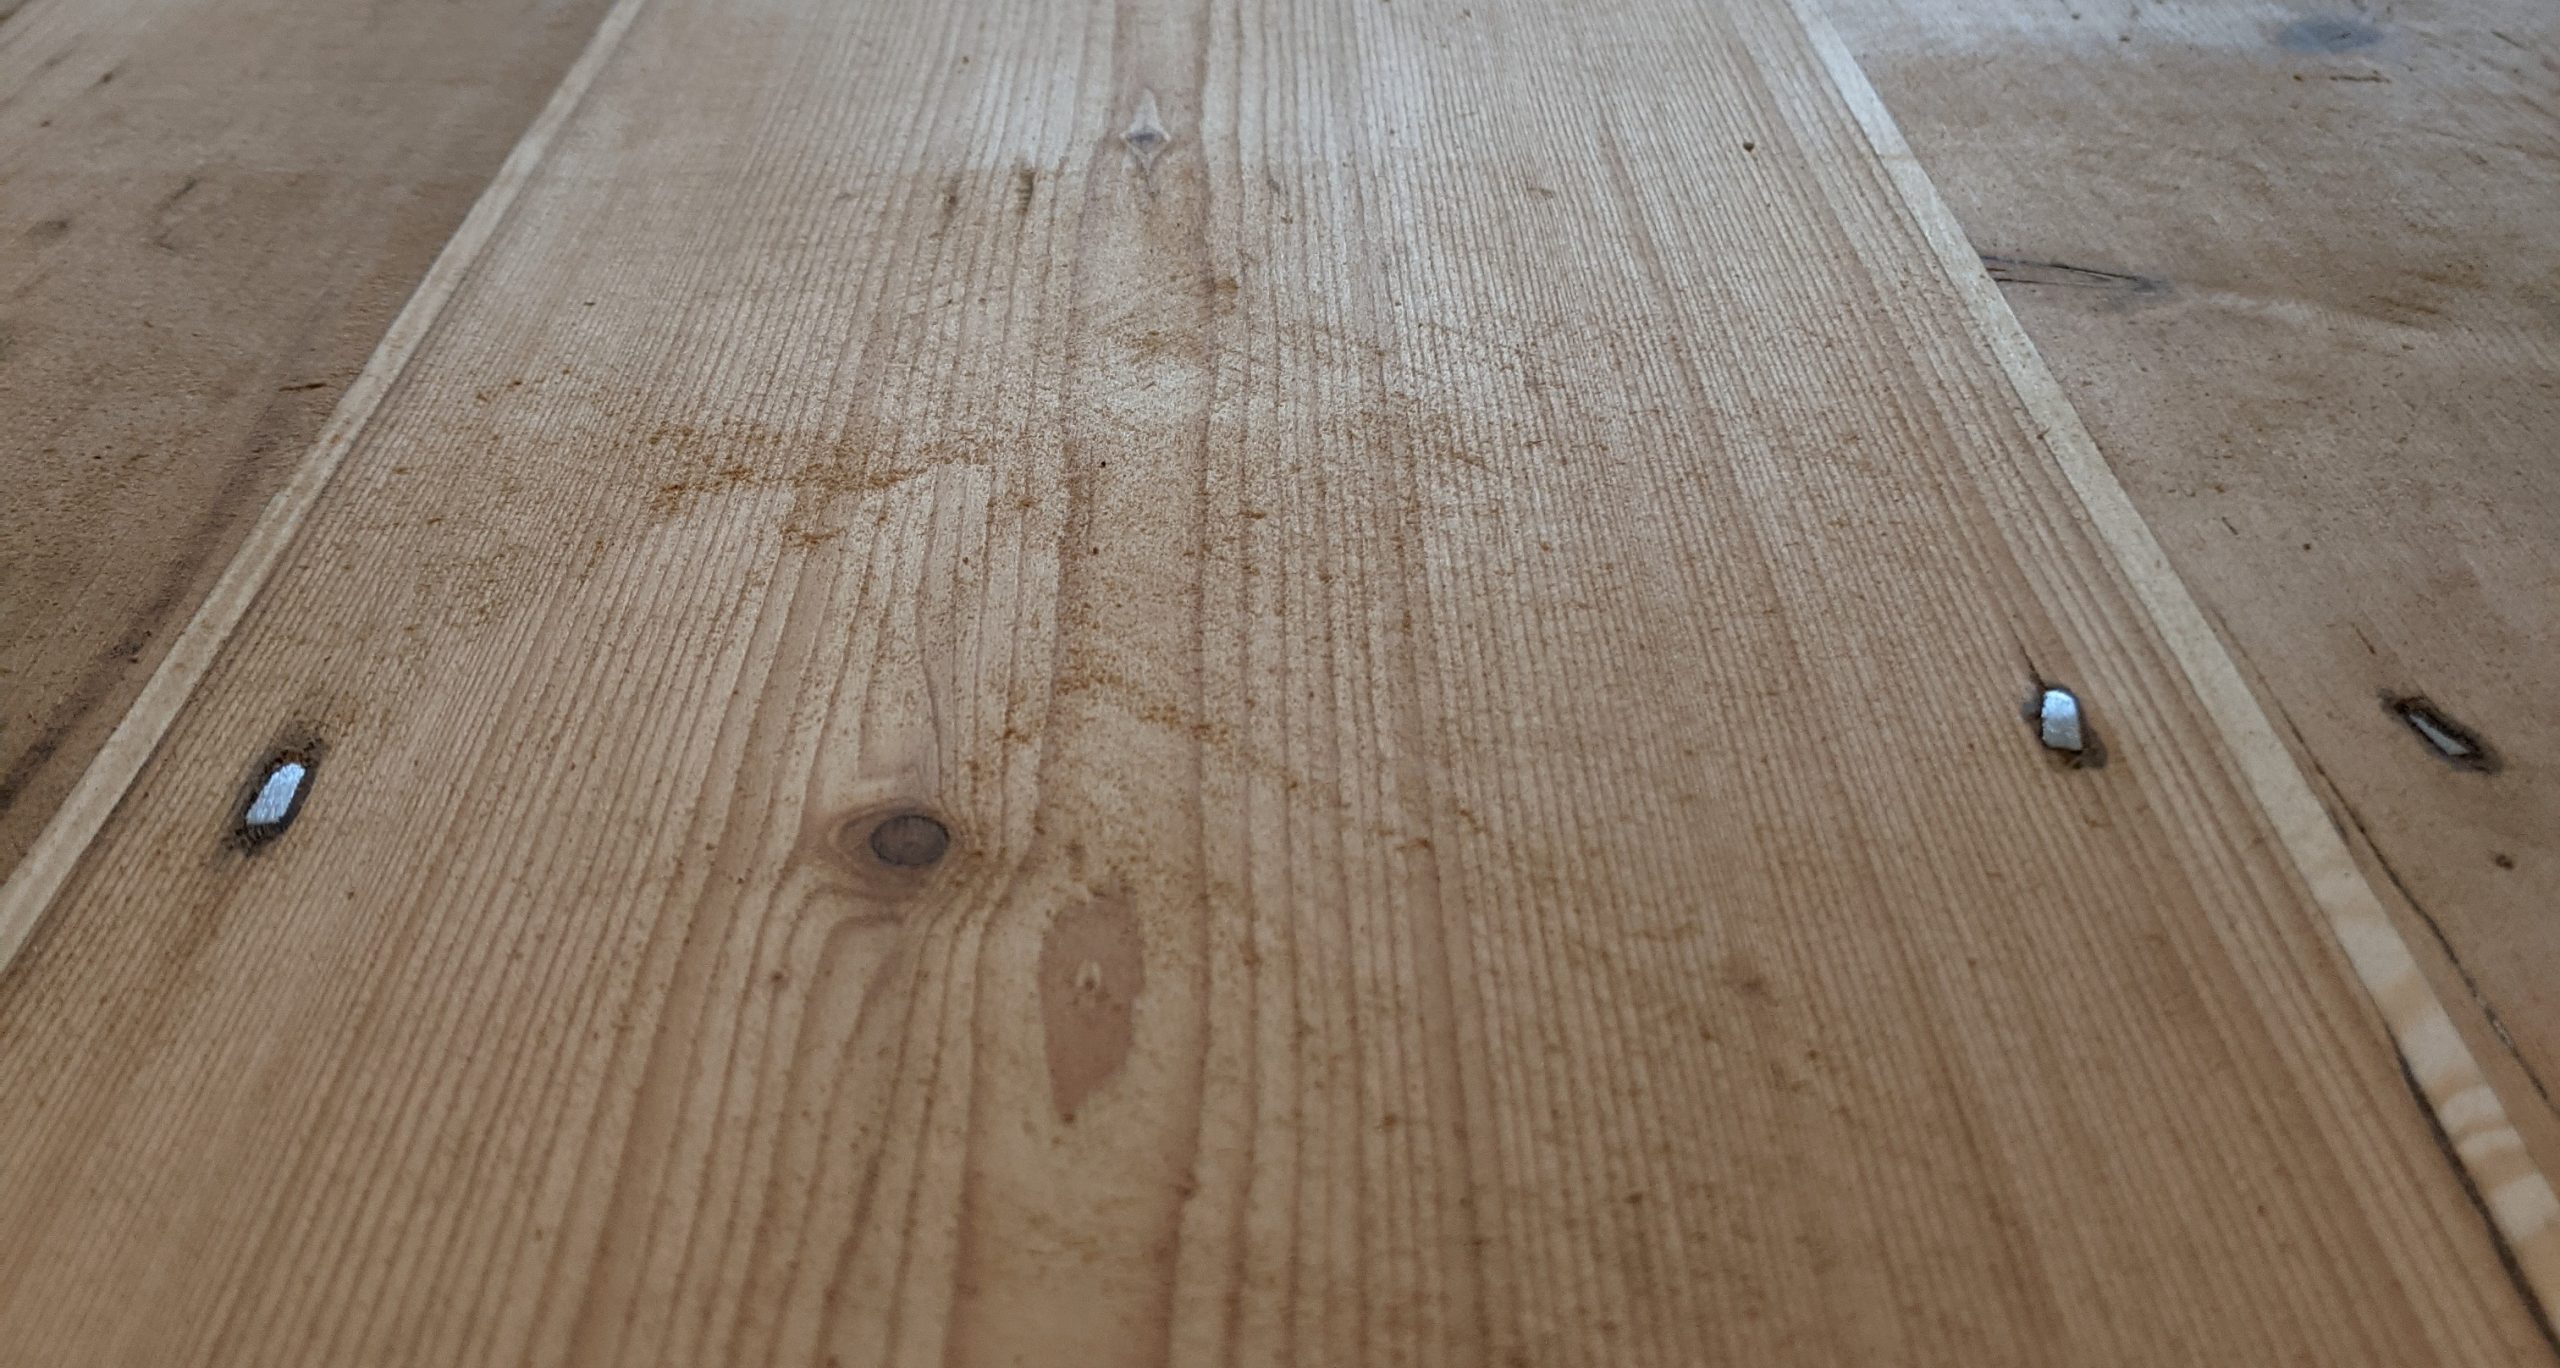
Obviously our biggest preparation job was filling the floorboards with pine slivers (link to our blog post about this process).
After this we spent a few evenings crawling around pulling out any old carpet staples and nails. This took FOREVER – this is definitely not a job you want to leave to the last minute. It’s important to get all the nails and staples up because if they catch on the sanding belt that’s a whole belt of sandpaper wasted. Thanks to our prep, we only lost one belt of sandpaper over the whole weekend.
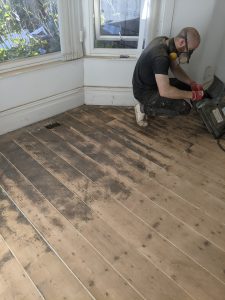
We had black bitumen staining around the edges of the living room and hallway which was just destroying sandpaper as we went over it and turning into melty sticky tar. I started scraping and sanding it with 40 grit sandpaper by hand to budge it before Ross got to those points with the floor sander! In hindsight, we should have tried to get this off before the sanding weekend. We didn’t try this, but apparently spraying these areas with WD40 shifts the bitumen quite well.
Shop around
We called around a few sanding equipment hire places to find the best price for sander hire. We needed a floor sander and an edge sander, along with all the different grits of sandpaper. We ended up paying around £230 for all kit for the weekend. Of course this puts a time pressure on the job as we didn’t want to pay for any extra days.
Usually the sander hire places will buy back any sandpaper you don’t use, to save you have to guess exactly how much you will need. Unfortunately we found a lot of hiring places weren’t doing this due to Covid, which makes sense. The people at the hiring shop were really helpful in suggesting how much sandpaper we’d need and they were pretty much spot on!
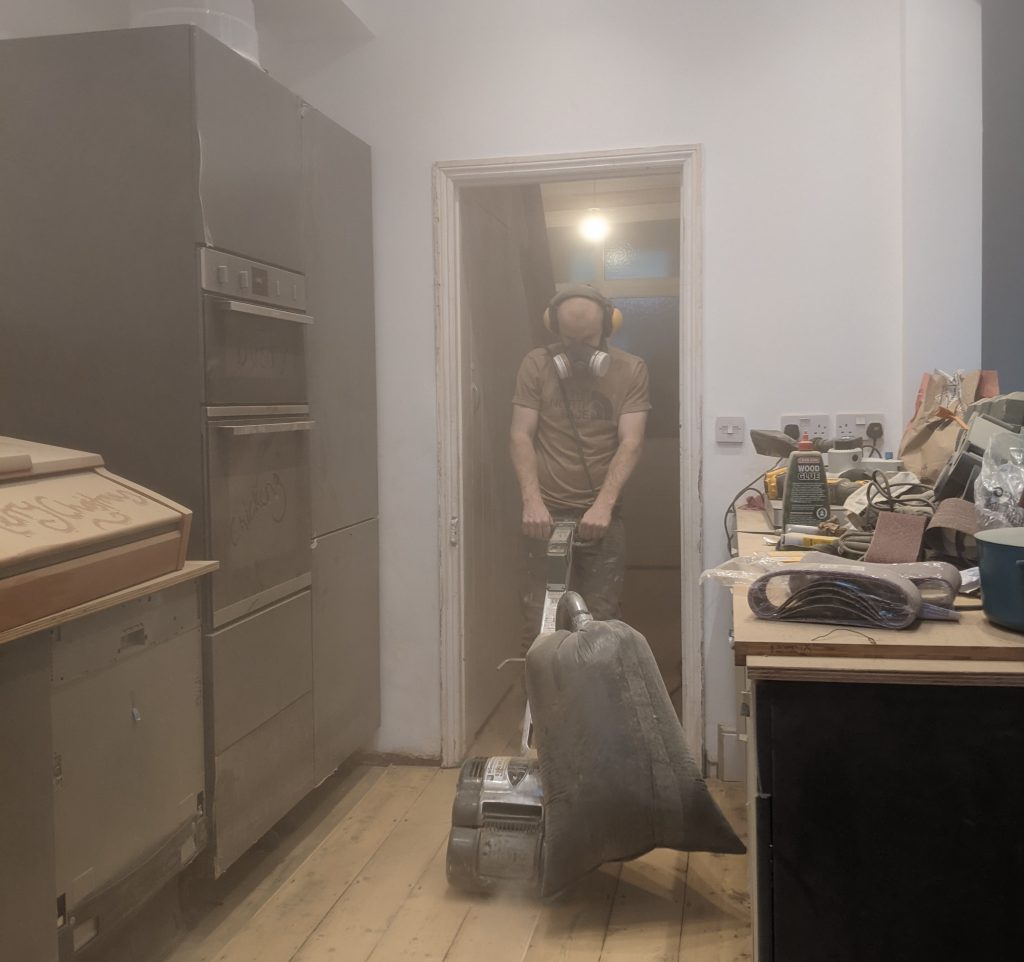
Dust management

The dust is bad, real bad! Luckily for us, we didn’t have any furniture downstairs so we didn’t have a lot of stuff to move out of the way, but we did move everything we had upstairs and into the cellar. We also didn’t have any carpets or anything especially nice to protect upstairs!
Having said that, I do wish I had done a better job of keeping the dust out of the upstairs. We of course kept all the doors shut, but dust was everywhere, and kept settling – FOR WEEKS!
There are lots of tricks for dust management – I often use the water bottle trick (where you fill an old spray bottle with water and spritz it into the air to bring the dust down) but I was worried about it marking the sanded floor.
You will definitely want to cover up as much as possible, wear a good mask, googles, and ear defenders are a must!
Drum sander tips
If you leave the sander on one spot it will gouge a big hole in your floor, including when you turn it on. Make sure you have it tilted when you turn it on and lower and move at the same time! If you’re nervous, I recommend starting at a spot that will be covered with a sofa or cabinet to hide any mistakes.
When you put the sandpaper on the sander drum, note where the drum is in relation to the sander itself, as it’s not necessarily in the centre – it’s not like a lawnmover – sometimes they’re more on the left or right, which will be good to know when you’re figuring out what you’ve done!


Change your sandpaper regularly, you’ll start to notice when it’s not doing the best job. You’ll waste hours if you try and make it last, just change it and keep going!
Change your sander’s dust bag as soon as you think you need to, because if it over-fills it risks bursting and filling the room with dust. This happened to us SO MUCH. We also took regular sweeping and hoovering breaks as we went because otherwise you just keep sanding sand dust and not the actual floorboards!
Getting started

Once you’re confident there’s absolutely no snags left in the floor, make sure everything is completely clear and swept. Because anything that gets caught up in the drum could end up flying through the air and/or into your leg.
Because we were looking to take up 100 years of filth and leveling out uneven boards – we started using a 40 grit sandpaper. We went at a 45° angle diagonally across the room from each corner. Obviously that’s tricky with the big sander, but we just did the best we could. We found that you just have to gauge how much you need to sand and where. Ross started expecting to do a once over with the 40 and that be it, but it took a lot more effort. He also went perpendicular across the boards which we hadn’t read about, but it worked.
Once we had got as much up as possible with the 40 grit, we then started to go up and down the boards. We found that you just have to be really methodical with it. When you’re going in lines, it should overlap half the next board along in order to get an even coverage. The slower you go the more time the drum will be spinning against the wood, so be mindful of that and be consistent with your speed. If you go slower or speed up you risk making things uneven.
Sanding with the 40 grit took a whole day across the whole ground floor. It took us much longer than expected!
Using the edge sander

We did the edging sander on the 40 grit when we’d done the rest of the floor with the 40 – we’re not sure if this is right, it’s just what we did!
As I mentioned above, if your floorboards are like ours with the bitumen staining around the edges, scrape up as much as you can before you start sanding. Once you’re ready, pick a direction to go in – going with the sander is easiest – and stick with one direction. We ended up going over and back on sections and it’s made the finished floor a bit messy in places.
The edging sander is VERY physical so really brace yourself and engage your core muscles! I literally couldn’t control it even with my full weight behind it. And get yourself some kneepads, you’ll thank me when you’re old.
Moving onto higher grit sandpapers
Once you feel like you’ve done as much as you can with 40 grid, just repeat the process grade by grade. We didn’t go on the diagonal with the 80 and 120, just up and down the length of the boards.
In our opinion, it is worth going up to 120 because you’ll get a much nicer finish with the stain. It’s a really satisfying process going up the grades as you start to see the lovely timber and grain coming through.


